


Polyester Fabric for Transfer Dye Sublimation Printing
Polyester rolls · Paper-transfer printing
Match Your Fabric to the Print Job
Transfer sublimation fabric is polyester fabric made for heat transfer from printed sublimation paper. Choose the roll by its final use: backlit, display, SEG or backdrop.
UNISIGN supplies unprinted fabric rolls—not transfer paper, DTF film or heat-transfer vinyl. Compare approved models, then test them with your paper, ink and heat machine.
- Woven and knitted options
- 110–280gsm models below
- Transfer-only and dual-process choices

Choose a Transfer Sublimation Fabric
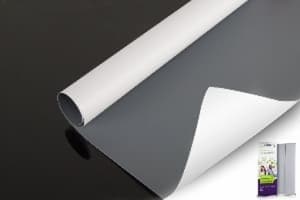
Start with the application, not GSM alone. These six models list paper-transfer dye sublimation on their product pages. Photos show the corresponding UNISIGN products.

STB110 · Apple
- 110gsm: woven fabric
- Use: SEG lightboxes
- Listed maximum: 3.2m
- Standard roll: 100m

STB150 · Aurora
- 150gsm: woven, slight stretch
- Use: lightboxes and frames
- Listed maximum: 3.2m
- Standard roll: 100m

SDB270 · Meteor
- 270gsm: warp knitted
- Use: backlit displays
- Listed maximum: 3.2m
- Standard roll: 100m

SDB280 · Starlight
- 280gsm: woven fabric
- Use: backlit lightboxes
- Listed maximum: 3.2m
- Standard roll: 50m

DSP09 · Mars
- 230gsm: knitted, slight stretch
- Use: frontlit displays
- Listed maximum: 3.2m
- Standard roll: 100m

DSP-BLK-01 · Nox
- 260gsm: warp knitted
- Use: black-back backdrops
- Listed maximum: 5.0m
- Standard roll: 100m
STB, SDB and Display Fabric Comparison
| Model | GSM | Construction | Sublimation route | Max. width | Roll length |
|---|---|---|---|---|---|
| STB110 | 110 | Woven | Paper transfer only | 3.2m | 100m |
| STB150 | 150 | Woven | Paper transfer only | 3.2m | 100m |
| STB185 | 185 | Woven | Paper transfer only | 3.2m | 100m |
| STB190 | 190 | Woven | Paper transfer only | 3.2m | 100m |
| SDB270 | 270 | Warp knitted | Direct + paper transfer | 3.2m | 100m |
| SDB280 | 280 | Woven | Direct + paper transfer | 3.2m | 50m |
| DSP09 | 230 | Knitted | Direct + paper transfer | 3.2m | 100m |
| DSP-BLK-01 | 260 | Warp knitted | Direct + paper transfer | 5.0m | 100m |
Values are listed on the linked model pages. Confirm current widths, stock and technical data sheet (TDS) for your order. Maximum fabric width is not your machine’s usable width.
How Paper-Transfer Sublimation Works
- Print the paper
Print a mirrored design with a suitable sublimation ink and paper.
- Align the fabric
Place the printed side against the fabric’s print face. Keep both flat.
- Apply heat
Use the tested press or calender setup. Keep contact and movement steady.
- Cool and check
Separate as directed, cool, measure, cut and finish the graphic.
The heat transfers dye into the polyester. Judge the final colour on the cooled fabric—not on the transfer paper.
Choose by the Finished Application

Backlit Lightboxes

Display & SEG

Backdrops
| Your job | First sample options | Check after printing |
|---|---|---|
| Backlit | STB110, STB150, SDB270, SDB280 | Light diffusion, rich colour, dark solids, bright spots |
| Frontlit display | DSP09 | Sharp text, smooth surface, glare, crease recovery |
| SEG frame | Choose a backlit or frontlit model first | Stretch, sewing allowance, size after heat, frame fit |
| Black-back backdrop | DSP-BLK-01 | Opacity, flatness, seams, fold recovery |
Explore lightbox fabrics, display fabrics, blockout fabrics and SEG fabric rolls.
Woven or Knitted Polyester?
Both can suit transfer dye sublimation. Construction alone does not decide print compatibility.
The same transfer workflow can be used with different textile structures. This woven and knitted polyester comparison explains the effect on stretch, finishing and display fit.
| Choice | Useful starting point | What to test |
|---|---|---|
| Woven | Stable layouts and controlled stretch | Surface texture, heat shrinkage, seams and frame tension |
| Knitted | Jobs needing controlled stretch and recovery | Stretch in both directions, recovery, curl and finished fit |
A knitted backlit model and a knitted backdrop model serve different jobs. Compare diffusion or opacity as well as GSM.
Set Up Your Transfer Test
There is no single temperature, time and pressure setting for every fabric. Ask for starting guidance for your exact UNISIGN model, ink, paper and machine.
| Setting | Flat heat press | Rotary calender |
|---|---|---|
| Temperature | Record set temperature and plate uniformity | Record drum temperature and heat stability |
| Time | Record contact time in seconds | Record line speed and actual contact time |
| Pressure / contact | Use the machine’s scale; check even contact | Check belt, contact and web tension |
| Approval | Compare colour, sharp edges, surface and size after cooling. | |
Do not copy a pressure number between different machines. Change one setting at a time and keep the result. Sappi’s transfer manual (PDF) explains how heat, contact, paper and fabric conditions work together.
Control Ghosting, Colour Spread and Shrinkage
A good test includes fine black text, white borders, grey, gradients and full-width solid colours.
Check surface and colour together. Compare the left, centre and right of the cooled print under the same light. Look for bands, pale areas, unwanted texture and changes in solid black. For backlit work, repeat this check with the intended lightbox switched on. Keep the approved print and its settings so the next batch has a clear reference.
| What you see | Check first | Next test |
|---|---|---|
| Ghosting: a faint second edge | Paper movement, tension and separation while hot | Keep paper and fabric stable using the approved handling method. |
| Fuzzy edges or colour spread | Moisture, paper drying, ink load, heat and time | Change one setting; inspect text and white borders. |
| Colour transfer after finishing | Later heat, contact with other layers and storage | Test the complete finished stack under intended use conditions. |
| Uneven dark areas | Fabric flatness, heat across the width and contact | Print a full-width solid and gradient strip. |
| Crease marks | Fabric, transfer paper, protection paper and belt | Run a flat set with controlled tension. |
| Wrong finished size | Heat shrinkage, stretch and seam allowance | Measure both directions after cooling; then sew and install. |
Ghosting is a shifted image; colour migration is dye moving into nearby material or layers. Diagnose the defect before changing the fabric. Moisture also matters: see Roland’s sublimation humidity guidance.
Direct vs Transfer Sublimation
| Point | Paper transfer | Direct sublimation |
|---|---|---|
| Where ink is printed | On transfer paper first | Onto the fabric |
| Fabric choice | Needs paper-transfer approval | Needs direct-print approval |
| Key checks | Paper contact, release, ghosting, heat shrinkage | Ink hold, penetration, feeding and heat fixation |
| Can one roll do both? | Some can. Check the exact model, not only the product family. | |
The four STB options above are listed for paper transfer only. The selected SDB and DSP models list both routes. Browse the full textile range for other printing needs.
Compare the two workflows in our direct vs transfer sublimation fabric guide, including material checks and sample tests before ordering.
Check Width, Samples and Order Details
- Machine fit: compare fabric, paper and usable calender widths.
- Final size: allow for measured shrinkage, trim and sewing.
- Print test: check colour density, text and surface across the width.
- Installation: test the finished lightbox, frame or backdrop.
For wider jobs, see the 3.2m dye sublimation fabric guide. A wide roll still needs a matching paper and heat-processing setup.

Keep Repeat Orders Clear
Request these details with your quote:
- Model, current TDS and approved sample
- Width, roll length, packing and batch details
- MOQ, lead time and delivery terms
- Measured shrinkage with test conditions
- Model-specific FR documents, when required
Keep the labelled print sample as a repeat-order reference. See our fabric manufacturer checklist.
Transfer Sublimation Fabric FAQs
What fabric is used for transfer sublimation?
Use polyester fabric approved for paper-transfer dye sublimation. Match its surface, stretch, width and heat behaviour to the final display.
Is this fabric or transfer paper?
This page covers unprinted fabric rolls. The printed transfer paper is a separate part of the production process.
Which STB models support paper transfer?
STB110, STB150, STB185 and STB190 list paper-transfer dye sublimation only. Follow each model’s current technical guidance.
What temperature, time and pressure should I use?
Start with guidance for the exact fabric, paper, ink and machine. Confirm colour, surface and size on a sample before running production.
Is heavier fabric better for colour density?
Not automatically. Yarn, construction, finish, ink, profile and transfer conditions also affect the result. Compare printed samples under the intended lighting.
How do I check shrinkage?
Mark and measure a sample in both directions. Transfer it, cool it consistently, then measure again. Check the finished sewn graphic in its frame.
Can I order one fabric for backlit and blockout jobs?
These jobs need different light behaviour. Backlit needs light diffusion; blockout needs coverage. Choose and test a model for each application.
Get the Right Transfer Fabric Samples
Send these six details for model selection and a current quote:
- Application and final size
- Printer, ink and transfer paper
- Heat press or calender model
- Required width and quantity
- Stretch, opacity or FR needs
- Destination and delivery date
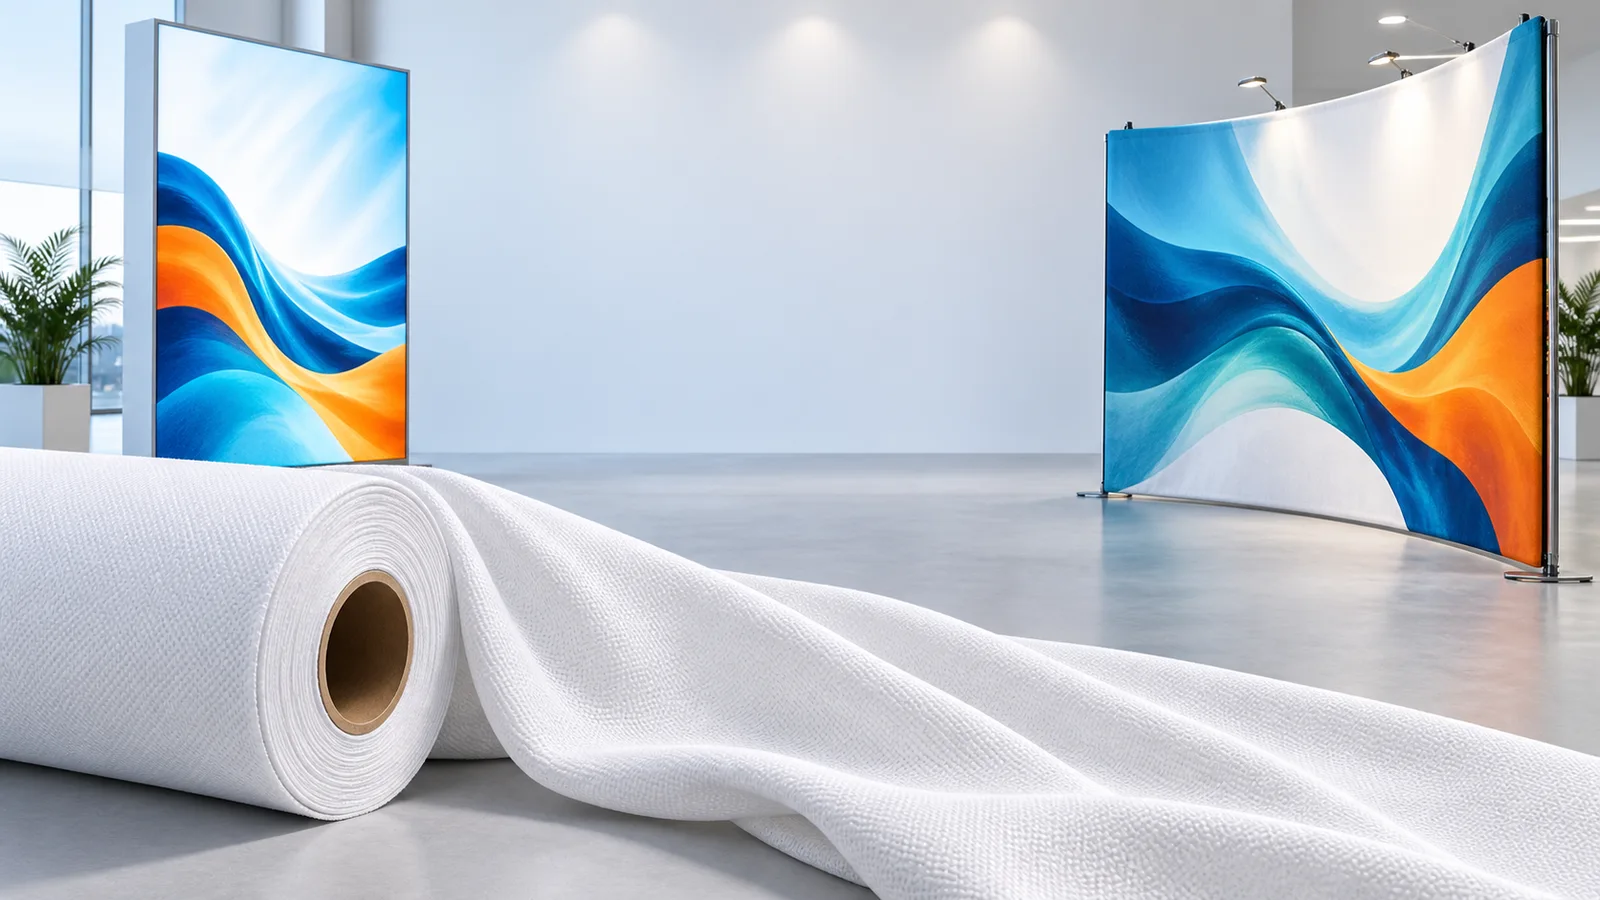
Product data: linked UNISIGN model pages. Confirm current specifications and heat-process guidance for your order. Header: AI-generated application illustration. Product photos: UNISIGN.