How to Choose SEG Fabric for Backlit and Non-Lit Frames
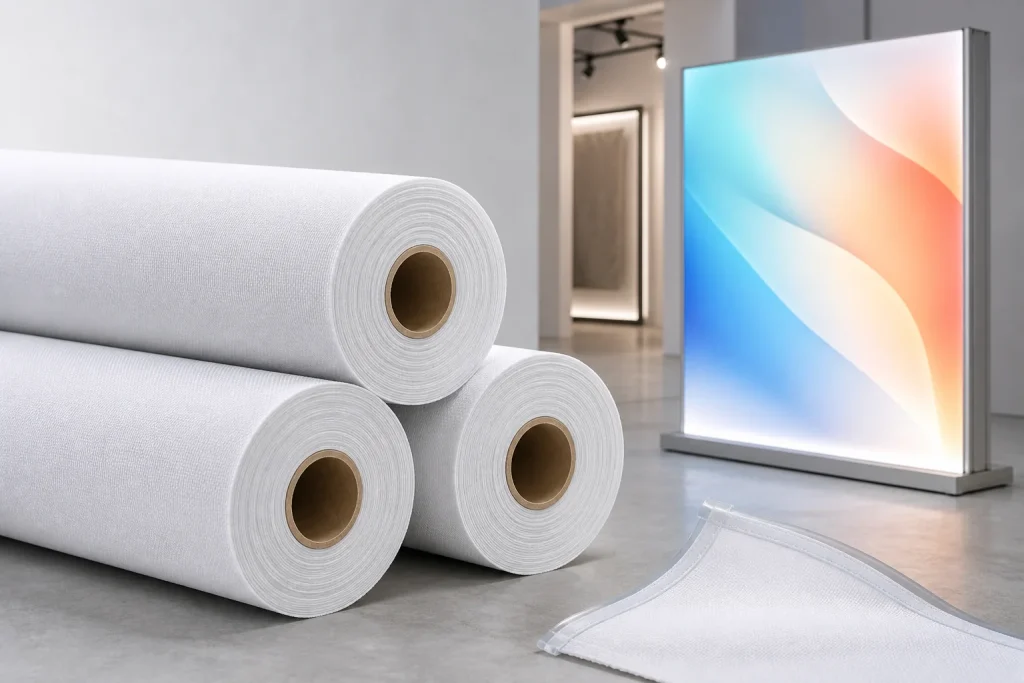
Choose SEG fabric by the frame lighting first. Backlit frames need even light diffusion. Non-lit frames need a smooth, opaque print face. Blockout fabric is useful when rear light or background show-through must be stopped.
After that, check stretch direction, recovery, construction, heat shrinkage, silicone edge fit and the finished graphic inside the actual frame.
Quick Answer: How Do You Choose SEG Fabric?
- Decide whether the frame is backlit, non-lit or needs blockout.
- Confirm direct dye sublimation, transfer sublimation, UV or latex compatibility.
- Measure stretch and recovery in the machine direction and cross direction.
- Compare woven and knitted construction for the required fit and finish.
- Measure heat shrinkage under the real printing and heat settings.
- Match the silicone or TPE edge to the exact aluminum profile.
- Print, heat, sew and install a finished test panel before bulk production.
Backlit vs Non-Lit SEG Fabric
Lighting is the first selection decision. Do not use one fabric specification for every SEG frame.
| Frame Type | Fabric Must Do | Main Test | Common Failure |
|---|---|---|---|
| Backlit SEG | Transmit and spread LED light while keeping color density | Install the printed sample in the actual illuminated box | Hotspots, pale color, pinholes or uneven white |
| Non-lit / frontlit SEG | Give a smooth matte face, good opacity and controlled tension | View under the real room or exhibition lighting | Glare, show-through, wrinkles or sag |
| Blockout SEG | Stop light and hide the wall, frame or old graphic behind it | Place the finished sample in front of the real background | Visible backing at cut edges, fold marks or weak opacity |

Backlit frame
Prioritize light diffusion, color density, white point and hotspot control.

Non-lit frame
Prioritize a smooth surface, opacity, low glare, tension and finished fit.
How Should Stretch and Size Recovery Be Checked?
SEG fabric needs enough stretch for a smooth face, but too much or uneven stretch can distort artwork and create weak corners. Test MD and CD separately because the two directions can behave differently.
Draw a 500mm × 500mm square and mark the roll direction.
Print and heat the sample using the normal production settings.
Cut, sew the real silicone edge and install it in the actual extrusion.
Remove the panel, let it rest and measure the same marked points again.
A lower result means the sample returned closer to its original marked size. Set the acceptable limit for your frame, artwork and replacement-graphic program.
- Check horizontal and vertical artwork distortion.
- Look for sag in the center and high stress at corners.
- Repeat the test after folding and transport when graphics will be reused.
- Do not approve a fabric from hand stretch alone.
Woven vs Knitted SEG Fabric
Construction is not a universal quality grade. Woven and knitted fabrics can both work when their printed, heat-set and sewn behavior matches the frame.
| Construction | Useful Starting Behavior | Watch For | Best Approval Test |
|---|---|---|---|
| Woven | Often stable, crisp and controlled across large flat panels | Fraying, fold lines, limited forgiveness and corner stress | Finished panel with real cut and edge method |
| Knitted | Often more flexible, easy to tension and easier to pack | Uneven stretch, image distortion, sag and backlit pinholes if over-stretched | Installed sample with measured MD/CD tension |
How Much Shrinkage Allowance Should Be Used?
There is no safe universal allowance for every SEG fabric. Heat, time, pressure, ink load, paper, web tension and construction can all change the finished dimensions.
- Measure MD, CD and both diagonals before heat.
- Print and heat with the real production recipe.
- Cool the fabric before measuring the same marks.
- Measure again after cutting and sewing.
- Install the panel and record the final correction.
Keep shrinkage, installed stretch and sewing allowance as separate numbers. Combining them into one guessed percentage makes repeat orders harder to control. Use the free SEG fabric cut size calculator to keep these inputs separate and compare MD/CD roll directions before making the first finished sample.
How Do You Match the Silicone Keder Size?
The silicone edge is also called a gasket, bead or keder. Its size must match the exact aluminum groove. A silicone strip that works in one extrusion may be too loose or too hard to insert in another.
| Input | Why It Matters | What to Record |
|---|---|---|
| Visible frame opening | Defines the required finished image area | Inside width, height and both diagonals |
| Extrusion groove | Controls insertion and holding force | Profile drawing, groove opening and depth |
| Silicone / TPE edge | Width, thickness and hardness affect the perimeter | Supplier, material, width, thickness and batch |
| Stitch line | Changes the effective finished graphic size | Distance from fabric edge, needle position and thread tension |
| Corner method | Extra layers can prevent full insertion | Fold, cut and sewing sequence |
| Fabric direction | MD/CD stretch and shrinkage are different | Roll direction on every test and production panel |
How Should Light Diffusion Be Tested?
For a backlit SEG project, approve the fabric inside the real LED box. A tabletop sample cannot show the effect of LED pitch, box depth, brightness and edge lighting.
- Print white, 25% gray, solid colors, a gradient and a dense black area.
- Install the fully sewn sample in the intended frame.
- View it first with the LEDs off, then with the LEDs on.
- Check the center, four corners and both side edges.
- Look for hotspots, bands, dark zones, pinholes and color shifts.
- Photograph each sample with the same camera settings for comparison.
What Sample Size Should Be Tested?
| Sample | Useful For | Not Enough to Approve |
|---|---|---|
| A4 or A3 swatch | Surface, white point, hand feel and basic color | Stretch, corners and frame fit |
| 0.5m × 0.5m printed sample | Ink, heat and basic shrinkage comparison | Large-panel cutting allowance |
| 1m × 1m finished frame sample | General sewing, edge insertion, tension and corner fit | Long-wall accumulation without another test |
| 1m wide × final-height strip | Tall-frame shrinkage and sag behavior | Full-width behavior |
| Full-size pilot panel | Large, repeated, tightly registered or high-risk jobs | Only variables outside the tested setup |
UNISIGN SEG Fabric Starting Points
These four unprinted polyester fabric rolls are practical starting points. They are not universal approvals. Review the current TDS and test the finished panel in the actual frame.

SDB190
- 190gsm
- Direct / transfer sublimation
- Up to 3.2m / 126 in
- 100m / 110 yd roll

SDB270
- 270gsm
- Direct / transfer / latex listed
- Up to 3.2m / 126 in
- 100m / 110 yd roll

DSP09
- 230gsm
- Warp knitted, slight stretch
- Up to 3.2m / 126 in
- 100m / 110 yd roll

DSP-BLK-01
- 260gsm
- Black back, slight stretch
- Up to 5.0m / 197 in
- 100m / 110 yd roll
For more backlit, non-lit, blockout, woven and knitted options, compare the complete UNISIGN SEG fabric roll range.
SEG Fabric Print and Frame Test: 8 Steps
Measure the opening, diagonals and extrusion groove.
Choose backlit, non-lit or blockout and confirm printing compatibility.
Record MD/CD, dimensions and batch before printing.
Use the intended printer, ink, paper and heat recipe.
Record shrinkage and image distortion after cooling.
Use the real keder, stitch line and corner method.
Check insertion force, corners, tension, wrinkles and sag.
Save the fabric, batch, process and size correction for repeat orders.
Common SEG Problems and What to Check
| Problem | Check First | Possible Next Test |
|---|---|---|
| Panel is too loose | Cut size, CD stretch, stitch line and keder movement | Repeat with measured size correction |
| Corners are too tight | Diagonal frame size, corner folds and uneven stretch | Test one finished corner in the real extrusion |
| Backlit hotspots | Fabric diffusion, over-stretch, LED pitch and box depth | Compare the same image under fixed LED settings |
| Graphic changes size after heat | MD/CD shrinkage, web tension, time and temperature | Repeat a marked heat test |
| Replacement graphic does not fit | Fabric batch, keder, stitch line and saved correction | Compare against the approved production record |
| Image looks distorted | Uneven horizontal/vertical stretch and artwork position | Use a printed measurement grid |
What Should You Send for a Fabric Recommendation?
- Backlit, non-lit or blockout application
- Visible frame opening and extrusion drawing
- Direct or transfer sublimation, UV or latex process
- Required roll width and finished graphic size
- Silicone or TPE edge specification
- Target GSM and stretch behavior
- Required FR standard and destination market
- Order quantity and sample plan
Frequently Asked Questions
What is the best fabric for a backlit SEG frame?
Start with a fabric made for backlighting. Test light diffusion, black density, white point, shrinkage and finished fit inside the actual LED box.
Can the same SEG fabric be used for backlit and non-lit frames?
Sometimes, but it is not automatically the best choice. Backlit fabric must transmit and spread light. Non-lit fabric normally needs stronger opacity and a smooth matte face.
Is woven or knitted fabric better for SEG?
Neither is always better. Woven fabric often gives more dimensional control. Knitted fabric often gives more stretch and fold recovery. Test the behavior required by the frame.
How much smaller should an SEG graphic be cut?
There is no safe universal percentage. Measure heat shrinkage, installed stretch, keder size, stitch line and the exact extrusion, then approve a finished sample.
What silicone keder size should be used?
Use the size specified for the aluminum profile, then test insertion and holding force with the selected fabric. Record width, thickness, hardness and supplier.
How large should the first SEG test be?
A finished 1m × 1m panel is a useful general starting point. Use a full-height strip or a full-size pilot panel for large, tall, tightly registered or high-risk jobs.
Should shrinkage be measured before or after sewing?
Measure before heat, after heat, after sewing and after installation. These stages answer different questions and should not be combined into one guessed number.
Does a backlit SEG sample need to be tested with LEDs on?
Yes. Test it in the intended lightbox with LEDs both off and on. This is the only reliable way to see hotspots, bands, color loss and edge effects.
Compare SEG Fabric Rolls and Request Samples
Send the frame type, extrusion, print process, finished size and application. UNISIGN will help you build a shorter list of unprinted polyester SEG fabric rolls for testing.
![Top 10 Vinyl Tarp Manufacturers in the World [2026 Guide]](https://unisignflex.com/wp-content/uploads/2026/04/pvc-tarpaulin-product-line.jpg)