


SEG Fabric Cut Size & Shrinkage Calculator
Use this SEG fabric cut size calculator to estimate a practical first-sample starting size for silicone edge graphics using frame dimensions, MD/CD heat shrinkage, installation stretch and keder/channel allowances.
This tool compares both roll directions. It does not replace a test made with the real fabric, ink, heat settings, sewing method, silicone edge and aluminum frame.
Start Calculation Read the SEG Fabric Guide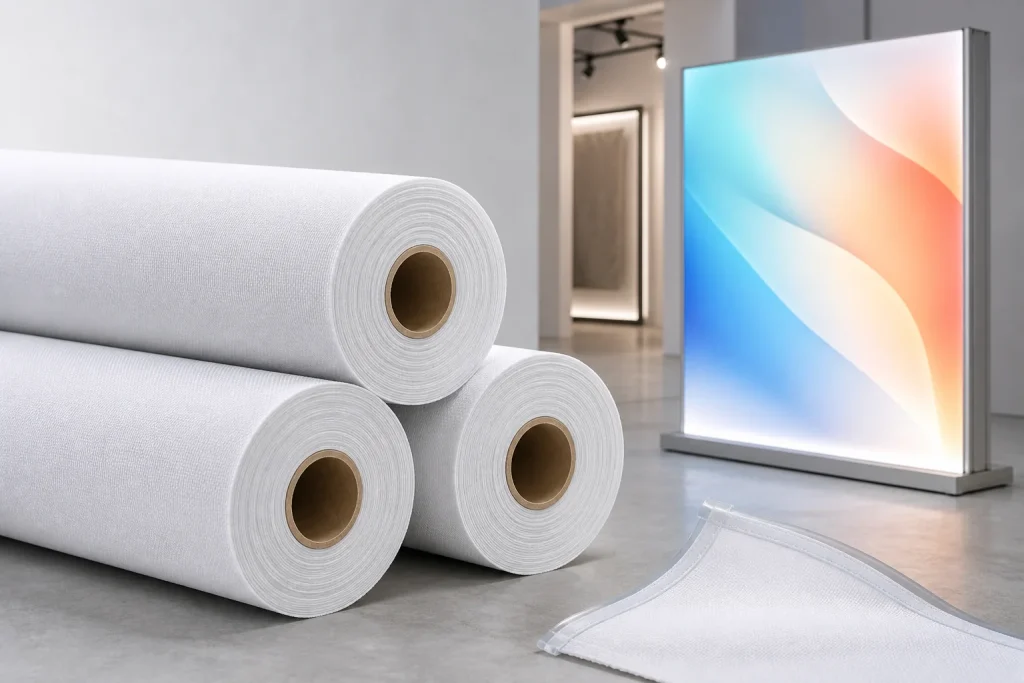
What Does This SEG Calculator Do?
It gives an estimated pre-heat cut size, stretch-compensated face size, keder/channel allowance, print-file size and recommended roll direction. MD means machine direction along the roll. CD means cross direction across the roll.
SEG Cut Size Calculator
Enter measured values. Do not use a supplier’s nominal percentage if your real print-and-heat test is available.
Frame size and roll direction
Measured heat shrinkage and target stretch
Measure shrinkage from before/after test lengths
Mark a known length in each direction, run the real print and heat process, then measure the same marks again.
Keder, channel and print allowances
Assumption: the fabric is cut before the measured heat process, and the allowance area experiences the same directional shrinkage as the graphic.
Estimated Starting Sizes
Calculation Method
The calculator treats the visible face, frame channel and silicone edge as separate parts. This is more useful than applying one general reduction percentage to the whole frame.
Shrinkage % = (Before heat − After heat) ÷ Before heat × 100 2. Find the channel seating span Channel span = Frame outside size − (Channel offset × number of keder edges) 3. Compensate for target installation stretch Stretch-compensated face = Channel span ÷ (1 + target stretch) 4. Add channel and silicone edge allowance Post-heat cut size = Stretch-compensated face + ((Channel depth + silicone thickness + extra sewing allowance) × keder edges) 5. Compensate for heat shrinkage Pre-heat cut size = Post-heat cut size ÷ (1 − measured shrinkage) 6. Add optional print bleed Suggested print-file size = Pre-heat cut size + (Print bleed × keder edges)Percentages in the formulas are used as decimals. For example, 2% = 0.02. Different frame profiles may measure channel depth and seating position differently, so confirm the geometry with the frame supplier.
What Each Input Means
| Input | How to Measure It | Why It Matters |
|---|---|---|
| Frame outside width and height | Measure the assembled frame from outside edge to outside edge. | This is the starting target, not automatically the cut size. |
| MD / CD shrinkage | Measure marked fabric before and after the real heat process. | Polyester can change differently along and across the roll. |
| Target installation stretch | Use a tested percentage that gives a flat face without overloading the seam. | Too little can leave wrinkles; too much can make installation hard. |
| Channel depth | Measure from the channel opening to the seated silicone edge. | Fabric must wrap into the frame channel. |
| Silicone edge thickness | Measure the selected keder profile, not the catalog name alone. | The silicone occupies space inside the channel. |
| Extra sewing allowance | Measure any extra fabric from the tested cut line to stitch line that is not already included in the channel/keder method. | It keeps the sewing term separate. Leave it at zero when the tested method already includes it. |
| Channel offset | Measure from the channel opening to the outside frame edge on one side. | It converts the outside frame size to the channel span. |
| Usable roll / print width | Use the smaller working width after selvage and printer margins. | It determines whether an orientation can print without a seam. |
| Print bleed | Follow the printer, RIP, cutting and sewing workflow. | It provides extra printed coverage around the planned cut line. |
MD and CD in Simple Terms
- MD: machine direction, running along the length of the roll.
- CD: cross direction, running from one side of the roll to the other.
- The dimension assigned to CD must fit within the usable roll and print width.
- Always mark MD and CD on test pieces before heat testing.
Signs That the First Result Needs Correction
- Rounded corners or silicone pulling out: the graphic may be too small or stretch too high.
- Wrinkles or loose center: the graphic may be too large or stretch too low.
- Only one direction is wrong: check MD/CD mapping and directional shrinkage.
- Different result after repeat production: check heat and fabric-lot consistency.
Recommended SEG Test Workflow
Frequently Asked Questions
What is a SEG cut size calculator?
It estimates the fabric size used to produce a silicone edge graphic. A useful calculator accounts for frame geometry, installation stretch, heat shrinkage and keder allowance instead of using one fixed reduction rate.
Should SEG fabric be cut smaller than the frame?
The visible face is often smaller than the channel span so the installed graphic stays under tension. However, the final cut also needs fabric for the channel, silicone edge and sewing. That is why “frame size minus a percentage” is not a complete method.
How do I calculate sublimation fabric shrinkage?
Mark and measure the fabric before heat. Measure the same marks after the real heat process. Use: (before − after) ÷ before × 100. Test MD and CD separately.
Why are MD and CD results different?
Fabric construction and finishing can create different stretch, shrinkage and recovery along and across the roll. Mapping the graphic to the roll direction helps control size and material use.
Does the calculator include the silicone keder?
Yes. It adds channel depth and silicone edge thickness for each selected keder edge. Stitch placement and the real channel profile can still require a correction after sampling.
What print-file size should I use?
The tool adds the chosen print bleed to the estimated pre-heat cut size. Set bleed to zero if your artwork or RIP workflow already includes the required printed coverage.
Can I use the result for bulk production?
Use it only as a first-sample starting point. Approve one fully finished and installed sample before bulk production because fabric, heat, frame and sewing variables can change the fit.
Where can I compare unprinted SEG fabrics?
See the UNISIGN SEG fabric rolls page for backlit, frontlit, blockout, stretch, woven and knitted fabric options. UNISIGN supplies unprinted polyester rolls rather than finished printed graphics.
Need a Fabric Sample for Your Frame Test?
Share the application, frame size, print method, target roll width and current fit problem. We can help you select an unprinted SEG fabric for testing.
Request an SEG Fabric Sample Compare SEG Fabric Rolls Browse Printable Textiles